Setting up Skyrim Platform
You've come! You've come to hear the word of Mighty Skyrim Platform!
By deciding to use SP for your brand new mod you did the best decision of your Skyrim modding life; for you... for us.
But now you don't know where to start!
Don't worry. I've got you covered, fam.
Setup
Without further ado, I introduce to you the steps needed for setting up and start running SP.
I hopefully made them idiot-proof, otherwise I'll have a lot of problems setting up everything again next time I create a new SP plugin or format my computer.
Download Skyrim Platform.
And extract it in your Skyrim installation folder\data.
Yeah... you read it right: install it in your installation folder.
I don't care if you are using MO2[1], I don't care that you worry too much about "muh folder pollution" but don't give a slightest shit about real life environment pollution.
You will install SP directly in your installation folder because that's the easiest, fastest and best way to develop and test your mods for SP.
... that's unless you are one of those freaks that use Vortex.
You can add it as you would have done with any other mod and then go back to eating crayons or something[2].

Download node.js
If you have never worked with it, it sounds quite intimidating and something only pros can understand how to use (that surely happened to me!), but in reality you just download a file, double click it and let the program do its magic.
This is a "hard requirement" (ha! imagine someone using Skyrim modding jargon when talking about programming).
You need to install it, otherwise you will never be able to create your plugin.
If you don't believe me, try to write npm i in your command line without having node.js installed.
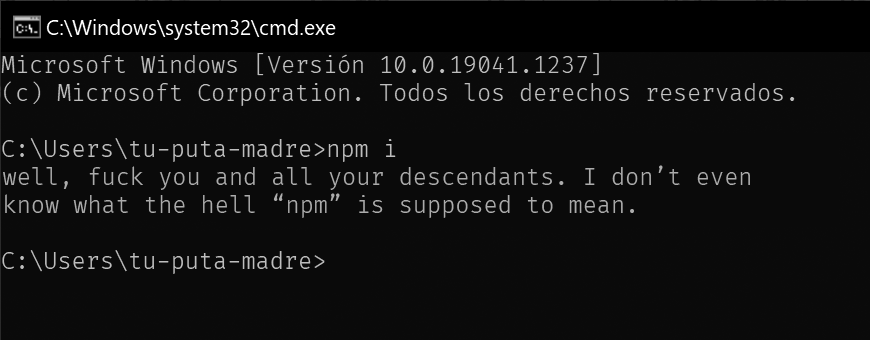
I swear I won't download anything from www.best-warez.jizz ever again.
Download this bare bones project
It's the minimum you need for getting started.
Extract that file wherever you want.
By the way, you can repost/reupload/whatever it wherever you want. No need to ask me, since I just added some names and such.
Do whatever you need to spread the good news of Mighty Skyrim Platform.
Well NOT anything. Please, don't kill me :'v
Make some changes to files
As you can see, there are quite a lot of files inside that "minimum required" project.
But you don't really need to concern yourself with most of them.
I think most of these files are related to something called "node project", and your SP plugin is some kind of these so-called "node projects".
What's a "node project", you ask? Who cares! I don't need to know it for doing SP plugins[3] and neither do you.
All you only need to know is you're going to make changes to these files:
- package.json
- package-lock.json
- tsconfig-default.json
- tsc/config.js
package.json and package-lock.json
One of the first things you will see in both files is a line saying:
{
  "name": "skyrimplatform-plugin-example",
Change that line to whatever your plugin will be called.
Since I don't know what's valid and what's not, I just play safe and write all my names in lowercase and with - instead of spaces; just the same way the barebones plugin is named.
Now that you have changed both files, go to package.json and change the author name from Giga Chad and all around awesome dude, Leonid Pospelov <pospelovlm@yandex.ru> to your own name or whatever you want to put in there.
You will end up with something like this:
{
  "name": "a-breathtaking-mod-just-like-you",
  "version": "1.0.0",
  "description": "I'm talking about you, my dear reader",
  "scripts": {
    "dev": "node ./tsc/before-first-compilation.js && bla bla bla"
  },
  "keywords": [],
  "author": "You",
  "license": "I suppose you know about this better than me",
  "dependencies": {
    "@types/chai": "^4.2.0",
    "fs-extra": "^9.0.0",
    "tsc-watch": "^4.2.3",
    "typescript": "^3.8.3"
  }
}
I think you can also safely change license, version and description to your liking.
I've done it and nothing bad has ever come from it.

... wish I could say the same thing about the last time I dared to eat guacamole late at night.
tsc/config.js
Open that file and follow instructions.
tsconfig-default.json
Go to tsconfig-default.json, find these lines and change them:
"baseUrl": "x:/Steam/steamapps/common/Skyrim Special Edition/Data/Platform/Modules",
"rootDirs": [
  "x:/your-plugin-absolute-path",
  "x:/Steam/steamapps/common/Skyrim Special Edition/Data/Platform/Modules",
]
Take notice how all of these are absolute paths.
Remember I told you the easiest way to setup SP was to just put it in your Data folder?
Configuring this and tsc/config.js are some of the reasons.
"baseUrl" and the second value in "rootDirs" both point to the directory where skyrimPlatform.ts is.
If these lines don't point to that folder, you will get errors saying "module not found" and things like that.
Configuring output
We will make just one more change while you're still inside tsconfig-default.json.
"outFile": "Platform/Plugins/your-plugin.js",
You need to change your-plugin to whatever the name of your plugin will be (always leave the .js extension), since that will be the file you will distribute to your users and I think it's kind of important to have a unique name; but those are only some crazy ideas of mine.
This line tells the compiler to output your file to a "Platform/Plugins" subfolder in your project folder.
I did this for our packing and distributing convenience, since you only need to zip that folder and you are ready to distribute.
Warning
Depending on your mod manager of choice, folder structure, etc, this output setup may make quite easy to distribute your plugin, but not testing it.
Since this may be the most complex and annoying part of all of this, I will leave you some ideas of what you can do to deal with this in case you need it:
- Use Link Shell Extension and create hard symlinks in
Data\Platform\Pluginspointing to your files inPlatform\Plugins. - Use Vortex for developing SP plugins.
- Use
"outFile": "x:/bla bla bla/Data/Platform/Plugins/your-plugin.js"in bothtsconfig-default.jsonandtsconfig.json(we'll soon see about that) to output your plugin directly into your Data folder while developing it[4].
Use"outFile": "Platform/Plugins/your-plugin.js"when you are ready to distribute it. - Manually copy all your files in
Platform\Pluginsdirectly toData\Platform\Pluginseach time you save and compile your plugin (not recommended; too annoying).
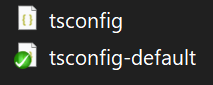
Copy tsconfig-default.json to tsconfig.json
Once you have changed everything you needed to change in tsconfig-default.json, copy that file and rename it as tsconfig.json.
Please, don't kill me :'v (what did you expect? it's the gag for this post)
Danger
I'm still getting acquainted with all of these files, but it seems tsconfig sometimes reverts to whatever contents are inside tsconfig-default each time you compile your project.
So if you need to make changes on any of these files, I suggest you to change both of them.
Run npm i
Before running npm, first you need to navigate to the folder where you extracted your barebones project.
There are a couple of ways to do this.
With the command line
Open the command line.
Press Windows + R to do it, then write cmd in the prompt.

But I prefer to use Powershell because it looks less shitty.
By using it I don't feel like I'm stuck with a Windows version from the early 90's, but one from the early 2000's.
Let's suppose your project is called... I don't know...Easy Containers and you extracted your barebones project here: x:\MO2\mods\easy-containers
Well, you just copy that line, write cd " in your command prompt, paste and then add the last ".
Hit enter and then you can let node.js do its job by using npm i.
C:\Users\tu-puta-madre>cd "x:\MO2\mods\easy-containers"

X:\MO2\mods\easy-containers>npm i

npm will now install a bunch of weird shit.
Wait while npm works its wonders.
... or just use Visual Studio Code
If you are using Visual Studio Code, you just go to File > Open Folder and select x:\MO2\mods\easy-containers.
Down below you will see a panel called "Terminal" and your folder will be already selected there for you to just come up and type npm i.
X:\MO2\mods\easy-containers>npm i

npm will now install a bunch of weird shit.
Wait while npm works its wonders.
Awesome stuff.
Execute npm run dev
Don't close the console yet. Now it's time to "compile" your plugin and run it.
X:\MO2\mods\easy-containers>npm run dev

14:37:44 - Starting compilation in watch mode...

14:37:46 - Found 0 errors. Watching for file changes.
The more you know...
The real technical name of the process happening here is "transpiling".
We are actually converting Typescript code to plain Javascript[5].
But the good people at node.js knows only people with yellowish underwear gets too pedantic about those sort of things, so they use the better known word: "compiling".
If you have some sort of errors at this point and you followed this guide as is, please let me know.
It will be most likely related to tsconfig.json or tsconfig-default.json.
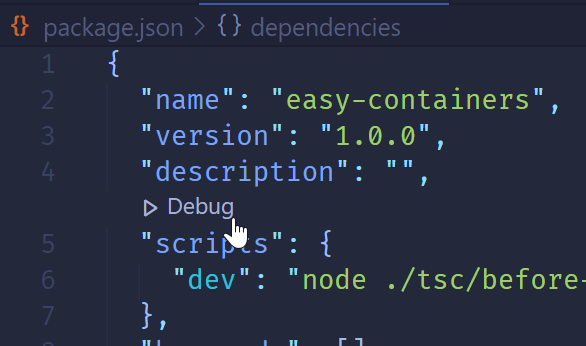
By the way, if you are using VS Code, instead of writing npm run dev you can open package.json and click in the debug thingy that lies in there.
Open your game
Now you are ready ro run your game.
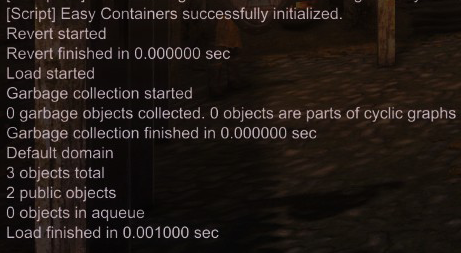
You should see a message saying "[Script] Barebones mod is now working" if you open your console.
Wrapping up
That's it.
This article got too long and I'm getting bored and tired of writing it, so I'll let you play around with these two files:
- index.ts
- src/example.ts
Meanwhile, I'll go play Monster Hunter.
Today new lewd armor mods were released ( ͡° ͜ʖ ͡°).
I use it too, you have no excuses. ↩︎
Ok; jokes aside, I'm actually thinking about using it for setting up the mods I need to develop plugins for SP.
Before you actually send me death treats I will only laugh at, I want you to know I use it for some games that aren't Skyrim and I quite like it, but I suppose its time to shine for my Skyrim tastes has finally come to me.
If you are a stubborn MO user with yellowish underwear, maybe it's time for you to give lovely Vortex a chance. ↩︎Seriously. I don't know what a "node project" is. ↩︎
You would need to manually deal with your
your-plugin-settings.txtif your plugin can be configured, though. ↩︎The language that the Chromium Embedded Framework that powers SP actually understands. ↩︎